TM 10-4930-351-14
0109 00
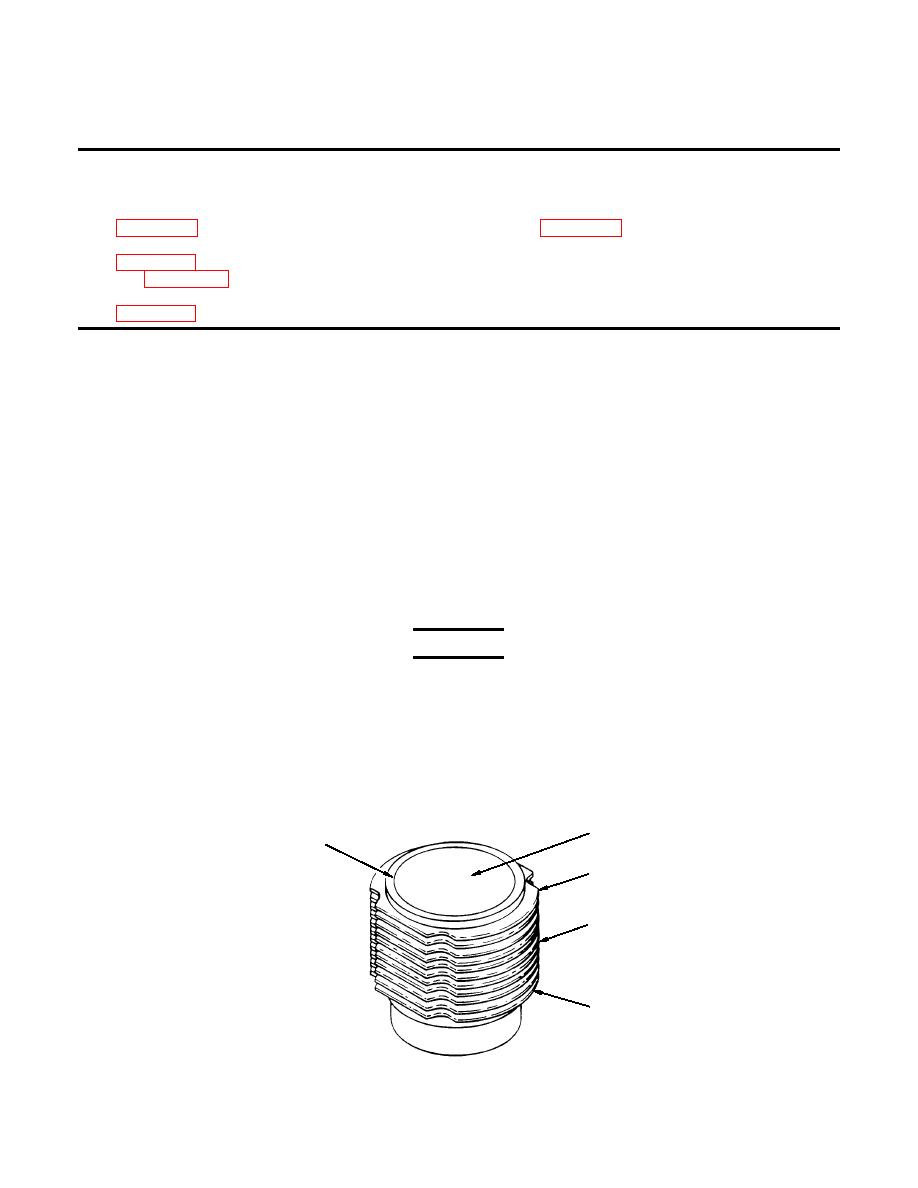
CHECK CYLINDER (Refer to Figure 6.)
This procedure applies to either cylinder.
INITIAL SET-UP:
Tools:
Materials/Parts Required:
Caliper, Vernier
Dry Cleaning Solvent
(WP 0113 00, Item 1)
Chemical and Oil Protective Gloves
(WP 0113 00, Item 2)
Equipment Condition:
Goggles (WP 0113 00, Item 2)
Cylinder head and cylinder removed
Honing Kit, Cylinder
(WP 0113 00, Item 3)
1.
Check cylinder bore (1) for taper and out-of-round.
Cylinder bore is checked for taper by measuring at bottom of finned area (2), middle of finned area (3) and top of finned
area (4). Maximum difference between bottom of finned area and top of finned area is 0.002 in. (0.05 mm). Measure
middle of finned area approximately midway between bottom of finned area and top of finned area. Measure for out-of-
round by measuring diameter of cylinder bore and then measuring again at 90 from first measurement. The two
measurements must be within 0.002 in. (0.05 mm).
2.
Inspect cylinder (5) for a ridge at top of finned area. A pronounced ridge is cause for replacement.
NOTE
Failure to properly hone cylinder can cause early failure and excessive oil consumption. Cross-
hatch pattern generally indicates proper honing.
Using a honing unit and 80 to 100 grit honing stones, hone cylinder wall to develop a 90 to 120 cross hatch pattern.
3.
WARNING
Dry cleaning solvent is toxic and flammable. Wear protective goggles and gloves.
Use only in a well ventilated area. Avoid contact with the skin, eyes and clothes. Do
not breathe vapors. Do not use near open flame or excessive heat. If you become
dizzy while using the solvent get fresh air immediately as well as medical aid. If
contact with eyes is made, flood your eyes with water and get immediate medical
aid.
4.
Thoroughly clean cylinder with dry cleaning solvent to eliminate any residue from the honing process.
1
5
4
3
2
Figure 6. Cylinder Check
0109 00-8


