TM 1-1500-204-23-9
(c)
Install the new face by turning in
a clockwise direction.
CAUTION
Exercise care when using tools to install
new faces, to prevent damage to the face
surfaces.
(3)
Replacing a defective handle. A split
or cracked handle can be replaced using the procedures
in the following paragraphs.
(a)
Removal of old handle. To
remove the old handle, proceed as follows:
1 If the handle is loose, pull it
from the head.
2 If the handle is too tight to
pull loose from the head, place the hammer in a vise.
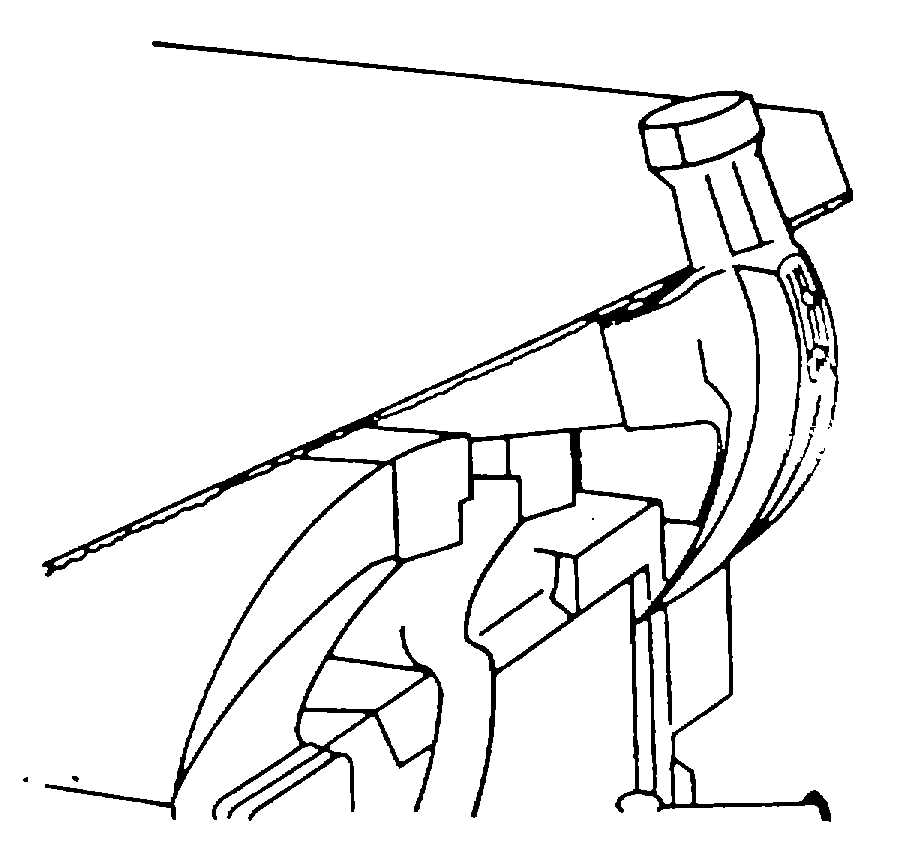
3 Saw off the handle close to
the head, as shown in figure 4-10.
Figure 4-10. Removing Broken Handle
4 Drive the remainder of the
handle through the large end of the head. Save the
wedges.
(b)
Installation of new handle. The
new handle is installed as follows:
1 Obtain a new handle and
wedges, as shown in figure 4-11.
2 Insert the handle in the head.
3 Seat the handle in the head
with a rubber mallet.
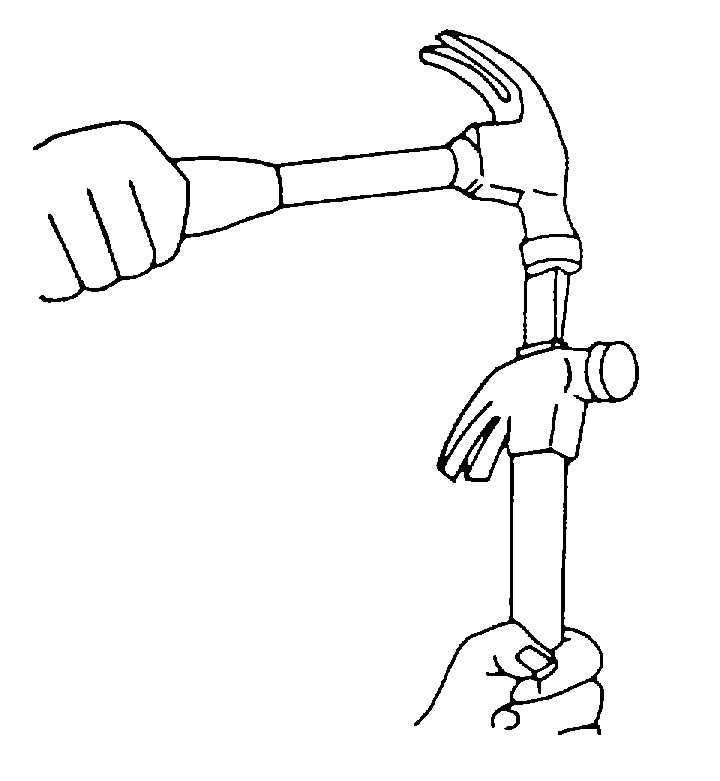
4 Drive the wooden wedge in
the handle face with a hammer, as shown in figure 4-12.
5 Place the hammer in a vise.
Using a handsaw, remove the projecting end of the
wedge.
6 File the excess portion of the
wedge using a wood rasp.
Figure 4-11. New Handle and Wedges
Figure 4-12. Installing Wedge
4-4