
TM 1-7010-386-12&P
MAINTENANCE
0009 00
RUGGEDIZED PRINTER ASSEMBLY
Replacing Printer Cartridges
When ordering replacement print cartridges, verify the correct part number with the documentation provided with
the printer. When a print cartridge is empty, leave the empty print cartridge in the print cartridge cradle until it is
replaced. The printer requires both print cartridges. To replace a print cartridge:
1. Verify that the out tray is down.
2. Press the Power Button to turn on the printer.
3. Open the Top Cover.
4. Raise the cradle latch.
5. Lift the print cartridge out of the cradle and discard.
6. Remove the replacement print cartridge from its packaging and carefully remove the protective vinyl
tape.
CAUTION
Do not touch the print cartridge ink nozzles or copper contacts.
Touching these parts will result in clogs, ink failure, and bad
electrical connections. Do not remove copper strips. They are
required for electrical contacts.
7. Insert the print cartridge firmly into the cradle.
8. Secure the cradle latch. You should hear a click when the latch is fully secured.
9. Close the Top Cover. A calibration page should print to test print quality each time a print cartridge is
installed.
EUROPEAN POWER ADAPTER
Fuse Replacement
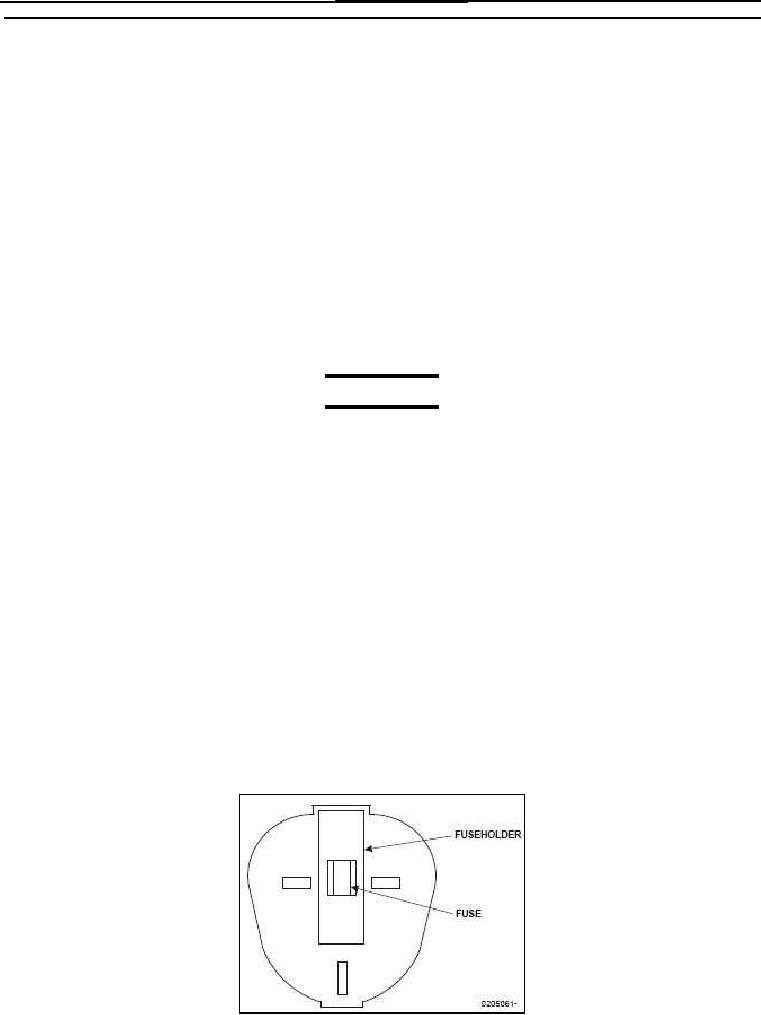
The European power adapter is equipped with a 13-amp, 250 volt fuse on the AC input. To replace the fuse, refer
to Figure 1 and proceed as follows:
Figure 1. Fuse Replacement
0009 00-2