TM 1-1500-204-23-2
NOTE
Do not forget to place tube insertion mark on all tube
ends.
(4) Draw a line across the fitting.
(5) Install the tube run and locate the fitting. Finger
tighten any end fittings (One end of the fitting may be
swaged on the bench, if possible.).
(6) Place the swage tool on the first end being
swaged, lining up the line on the tube end being swaged
with the line on the fitting
(7) Repeat this step with the other ends to be
swaged.
(8) Tighten any end fittings to their proper torque
value.
NOTE
· The standard total tube end gap (tube float-in
tolerance) used In assembling a Permaswage union
(D10036) fitting onto a tube is 0.300 inch. On union
(D10036) sizes 3/4 through 1 1/2 inch, the length of the
fittings results in an increase in this tube end gap when
normal procedures are followed.
· When marking or repairing a 3/4 through 1 1/2 inch
assembly where the total length of the assembly must
be held to a precise dimension, an additional procedure
must be utilized. Mark each tube end in the normal
manner with the Permaswage marking tool (D9862L) to
establish the normal tube insertion mark. Then measure
an additional distance past that mark (away from the
end of the tube) as shown in table 4-36 and place a new
tube Insertion mark at that point.
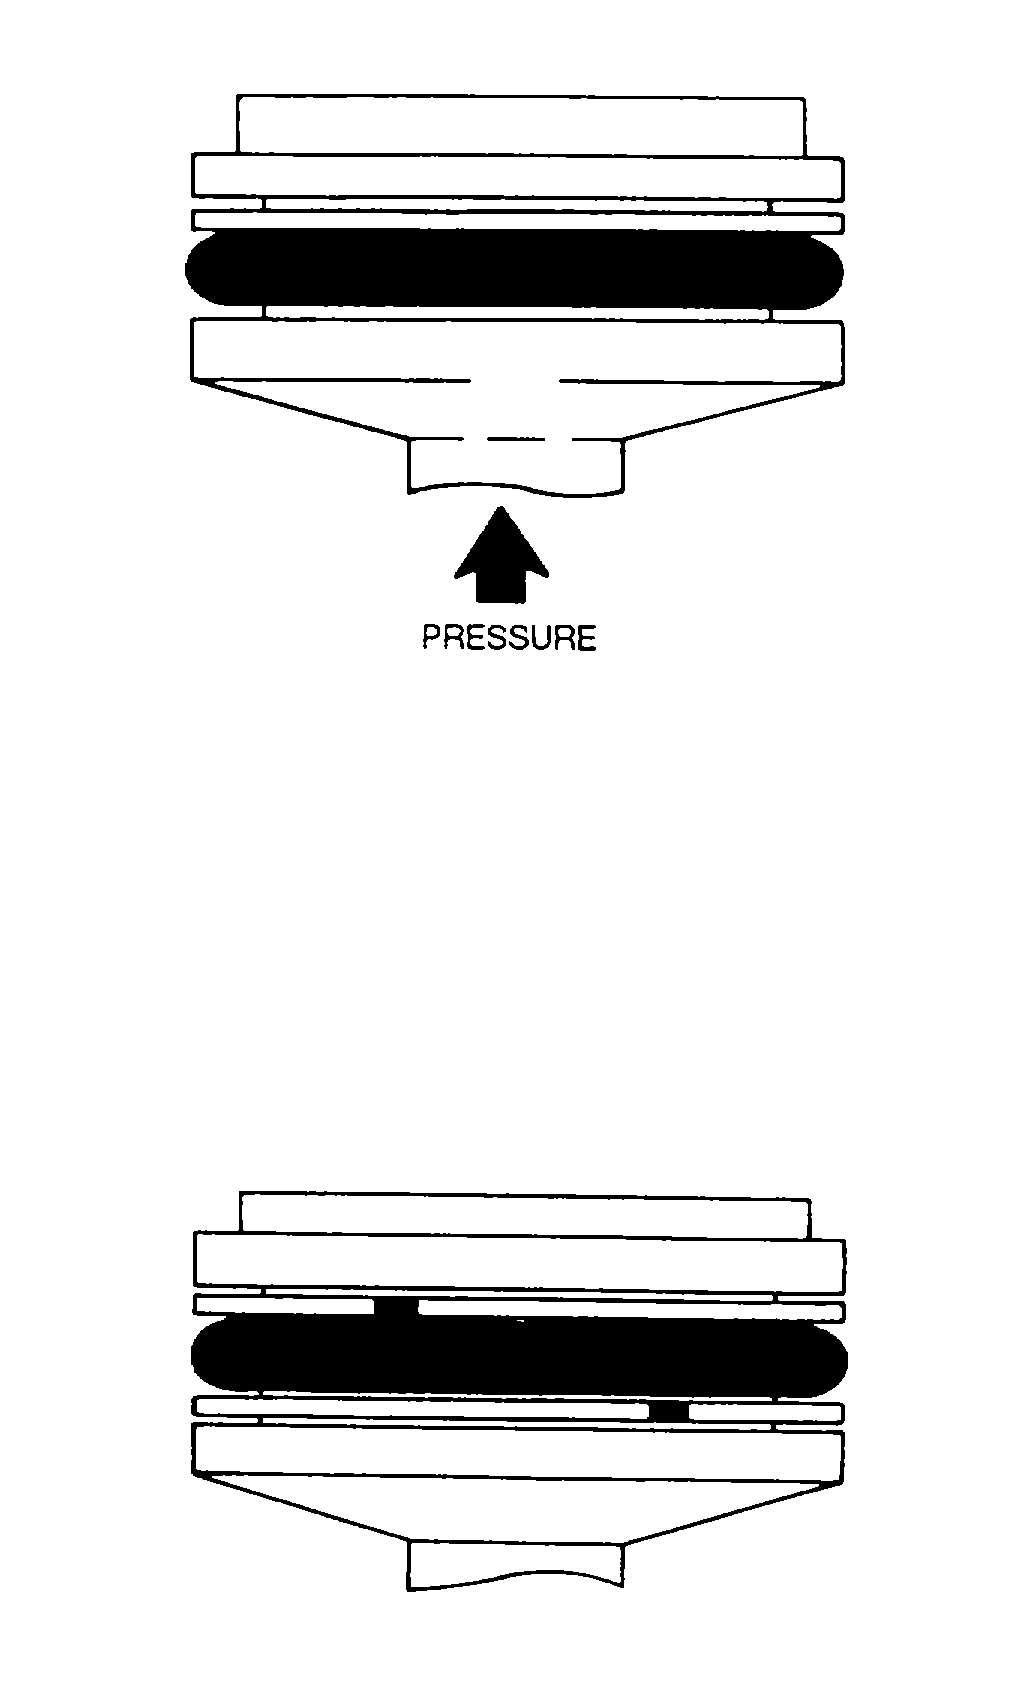
Figure 4-76. Double Backup Ring Installation
· The new tube insertion mark and the swaging procedure are used to make the tube/fitting joint A 0 300 inch tube end
gap at minimum insertion depth will result.
· If the above procedure is not used in addition to normal procedures for 3/4, 1, 1 1/4, and 1 1/2 inch sizes of union
fittings, the tube assembly will be longer than required.
c. Tube Cutting. Before performing the following procedure, verify that the ratchet is operating freely at the cutter
wheel is clear of the cutter head opening (see figure 4-81). Then proceed as follows:
(1) Rotate cutter head to accept tubing and located in cutting position. When properly located, the tubing will be
centered on the two rollers and the cutting blade.
4-88
Figure 4-75. Single Backup Ring Installation