TM 1-1500-204-23-9
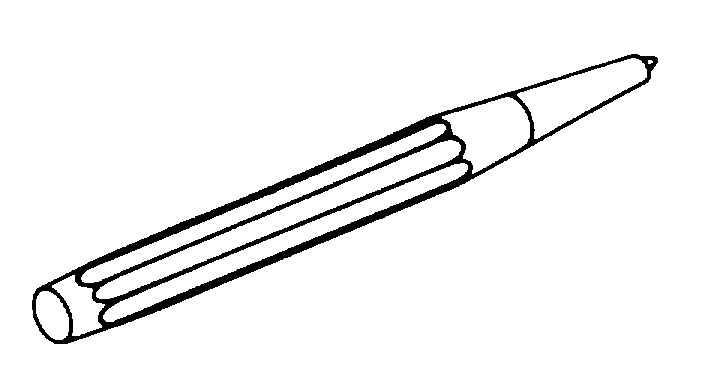
Figure 4-58. Prick Punch
(b)
Center punch. A center punch, shown in
figure 4-59, is used to make large indentations in metal
of the kind needed to start a twist drill. This punch has a
heavier body than the prick punch and its point is
ground to an angle of about 60 degrees. The following
precautions should be taken when using a center punch:
•
Never strike the center punch with enough force
to dimple the item around the indentation or
cause the metal to protrude through the other
side of the sheet.
•
Like the prick punch and for the same reason, a
center punch must never be used to remove
objects from holes.
(c)
Automatic center punch. The automatic
center punch, shown in figure 4-60, is used only to
indent metal to make starting points for twist drills. It
contains an inside mechanism that automatically strikes
a blow of the required force when the user places the
punch exactly where he wants it and pushes it by
pressing on it with his hand. This punch has an
adjustable cap for regulating the stroke; the point can be
removed for regarding or replacement. Never strike an
automatic center punch with a hammer.
(d)
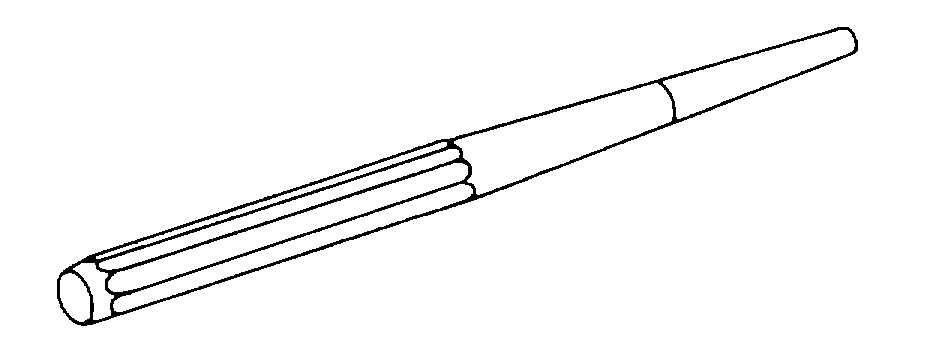
Drive punch. The drive punch, shown in
figure 4-61, is often called a taper punch. It is used to
drive out damaged rivets, pins, and bolts, which
sometimes bind in holes. Therefore, the drive punch is
made with a flat face instead of a point. The size of the
punch is determined by the width of the face, usually
one eighth to one-quarter inch.
(e)
Pin punch. A pin punch, shown in figure
4-62, is also often called a drift punch. It is similar to a
drive punch and is used for the same purpose. The
difference between the two is that the shank of a drive
punch is tapered all the way to the face, while the pin
punch has a straight shank. Pin punch points are sized
in thirty-seconds of an inch and range from one-
sixteenth to three-eighths inch in diameter. The usual
method for driving out a pin or bolt is to start working it
out with a drive punch, which is used until the shank of
the punch is touching the sides of the hole. A pin punch
is then used to drive the pin or boft the rest of the way
out of the hole.
Pins and bolts or rivets that are hard to dislodge may be
started by placing a thin piece of scrap copper, brass, or
aluminum directly against the pin and then striking it
with a heavy hammer until it begins to move.
(f)
Transfer punch. The transfer punch
shown in figure 4-63 is used to transfer the holes
through the template or patterns to the item. This punch
is usually about 4 inches long. Its point is tapered at the
back and then turns straight for a short distance to fit the
drill-locating hole in a template. The tip ends in a point
like that of a prick punch.
Figure 4-59. Center Punch
Figure 4-60. Automatic Center Punch
Figure 4-61. Drive Punch
4-22


