TM 1-1500-204-23-9
CAUTION
Install brass or copper caps on the vise
jaws to prevent scratching and denting
of soft substances when clamping.
Highly
polished
surfaces
may
be
protected by pieces of rawhide or
leather.
(b)
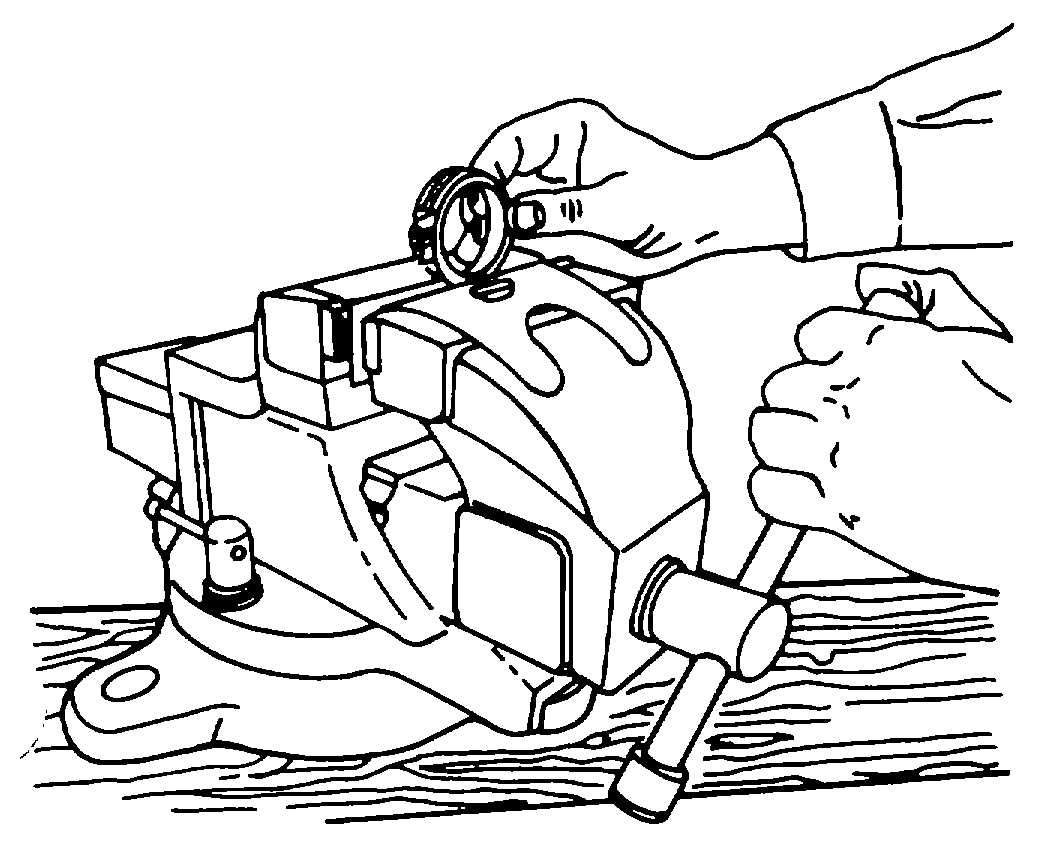
Insert the object to be clamped between the
vise jaws, and tighten the jaws by turning the handle, as
shown in figure 4-54.
Figure 4-54. Using a Bench Vise
NOTE
Work should be held firmly in place, but
the jaws should not be so tight that they
mar the finish.
(2)
Care. Observe the following practices for the
care and upkeep of bench vises:
(a)
Clean with a rag after each use, and apply
a light coat of oil.
(b)
Keep the jaws in good condition.
(c)
Never oil the swivel base or the swivel
joint, because this decreases its holding power.
(d)
When not using a vise, bring the jaws
lightly together and leave the handle in a vertical
position. This will protect the jaws.
b.
Carriage
Clamps.
The
carriage
clamp,
commonly called a C-clamp, is constructed in the shape
of a large C, as shown in figure 4-55. It is tightened by
use of a screw threaded through one of the bars and has
a swivel plate to prevent the end of the screw from
turning against the item being clamped. C-clamps are
used to hold work which cannot be held in a vise, or
which has to be held for an extended period of time.
They are available in a variety of sizes.
Figure 4-55. Carriage Clamp
(1)
Use. The following paragraphs contain general
procedures for the use of C-clamps:
(a)
Select a clamp which has an opening
about 1 1/2 to 2 inches wider than the object to be
clamped.
(b)
Open clamp as wide as it will go.
CAUTION
Some items, such as glass and highly
polished objects, must be protected to
prevent localized stress and damage.
Use brass shims or wooden blocks to
provide this protection.
(c)
Align the work and the protective shims (if
required).
(d)
As shown in figure 4-56, place the clamp
in position, and tighten the operating screw until contact
is made with the item being clamped.
NOTE
The above procedure should only obtain
a very light contact with the item.
(e)
Check the alignment of the item being
clamped. Ensure that the clamp is applying even
pressure over the entire surface.
4-19