TM 1-1500-204-23-9
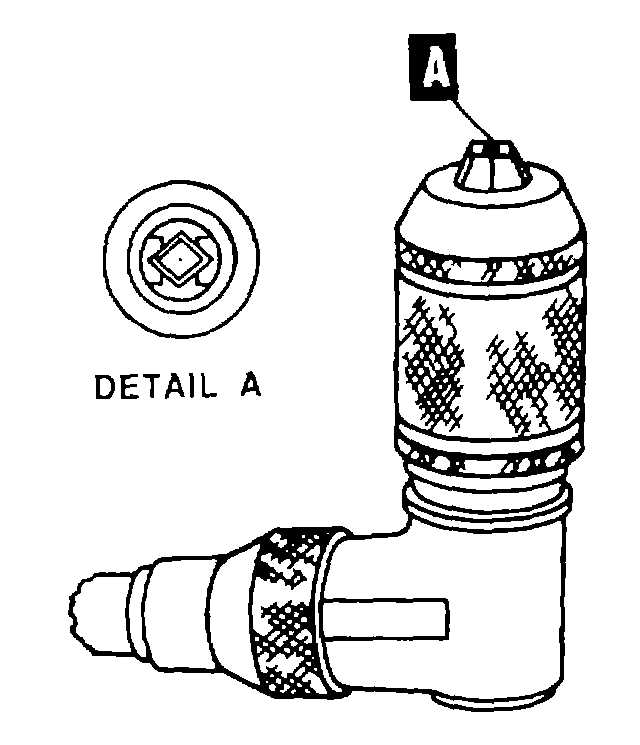
Figure 4-82. V-Grooves in Drill Jaws
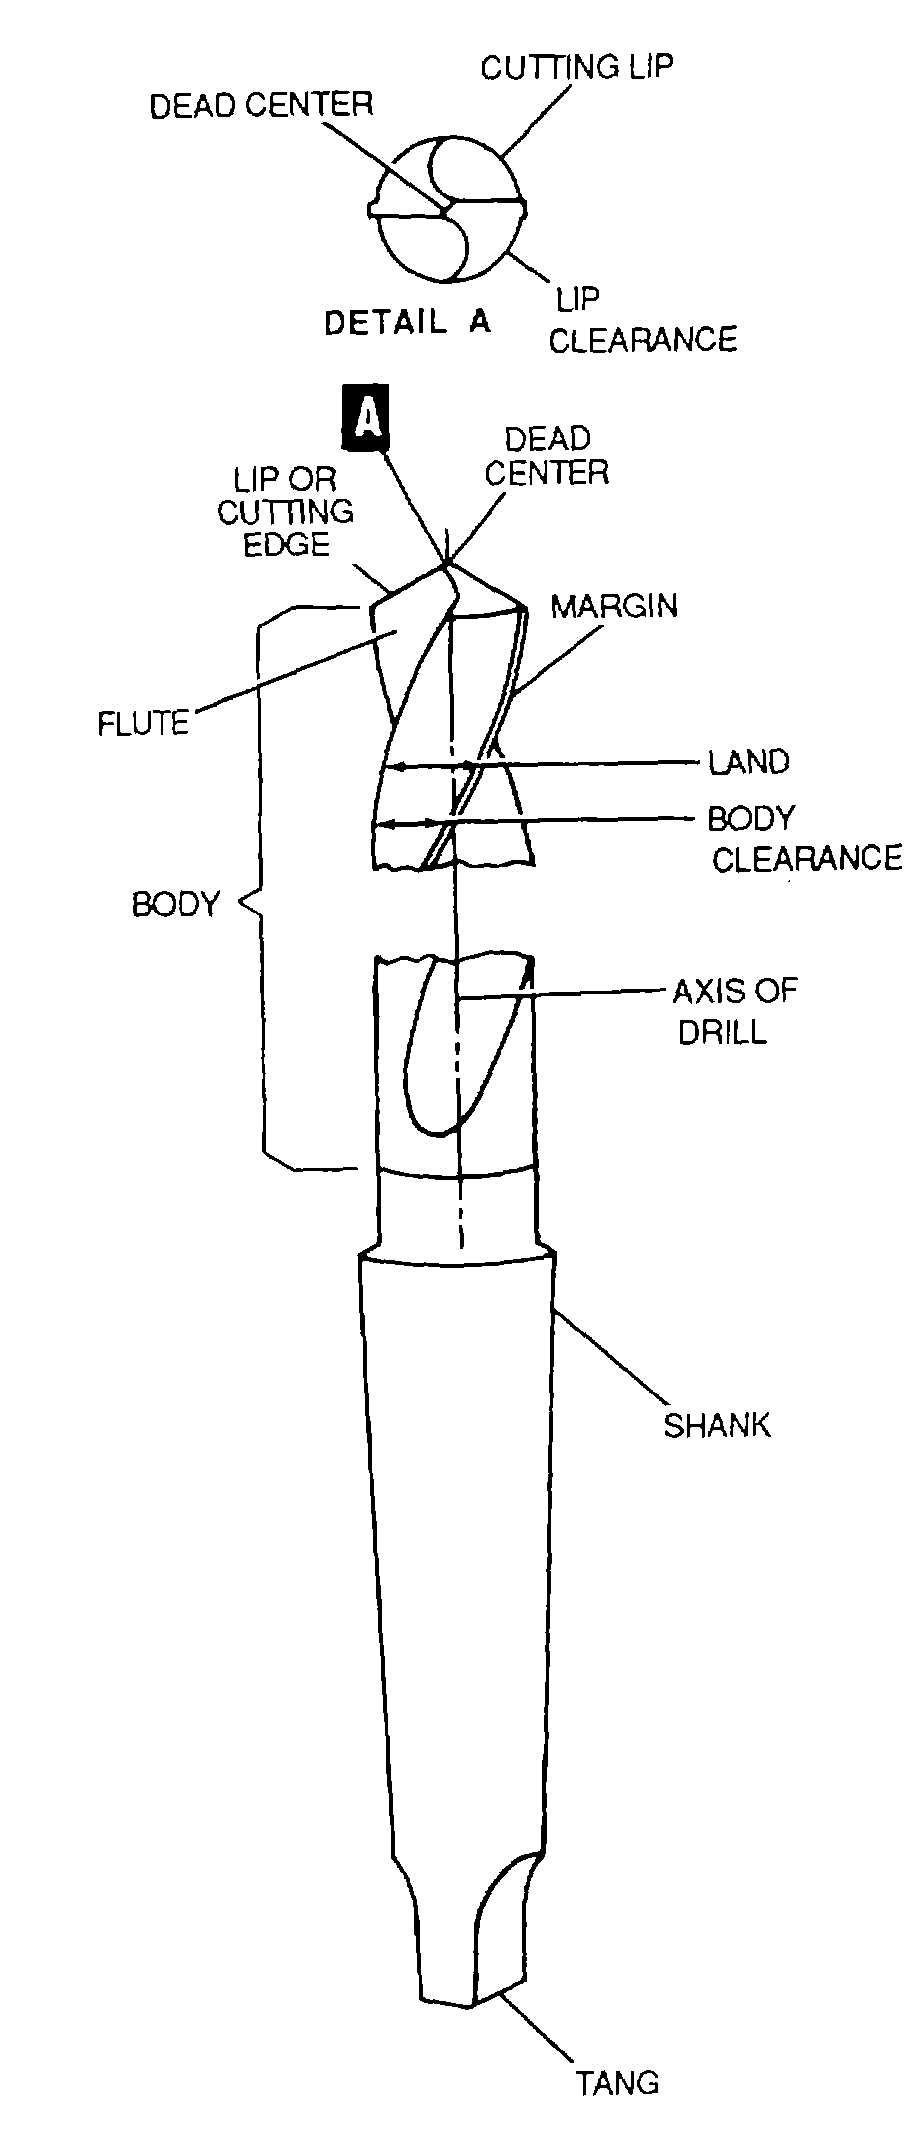
(1)
Lips. The lips are the parts which actually
do the cutting.
(2)
Flutes. The flutes allow the chips to
escape, give the correct rake to the lips or cutting
edges, and when it is necessary to use a lubricant, they
allow the lubricant to reach the cutting edges.
(3)
Body. The body of the drill is ground
away slightly, except at the margin, to reduce the friction
of the drill as it rotates.
b.
Sizes. The letter, number, fractional, and
decimal sizes of drill bits are shown in table 4-2.
c.
Use. The following paragraphs outline the
procedures for laying out and drilling holes.
(1)
Laying out. When laying out work, mark
hole locations as follows:
NOTE
Do not hit the center punch too hard
because it will dent the surrounding
metal. Place a bucking bar behind
the metal to prevent denting.
(a)
Locate the exact center of the hole to be
drilled and mark with a prick punch.
(b)
Enlarge the prick punch mark with acenter
punch so that the point of the drill can seat properly.
This is shown in figure 4-84.
(2)
Drilling. To drill the item, proceed as
follows:
(a)
Place the drill in the center-punched
mark. When using a powerdrill, rotate the bit a few turns
before starting the motor.
Figure 4-83. Typical Drill Bit
4-30