TM 1-1500-204-23-9
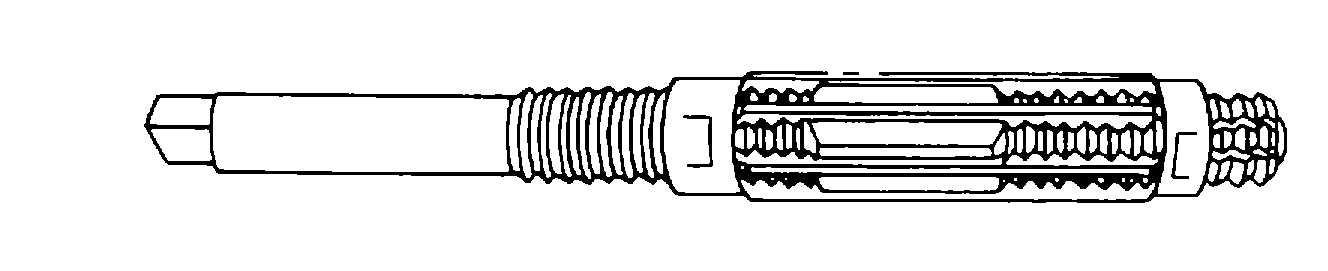
Figure 4-92. Adjustable Reamer
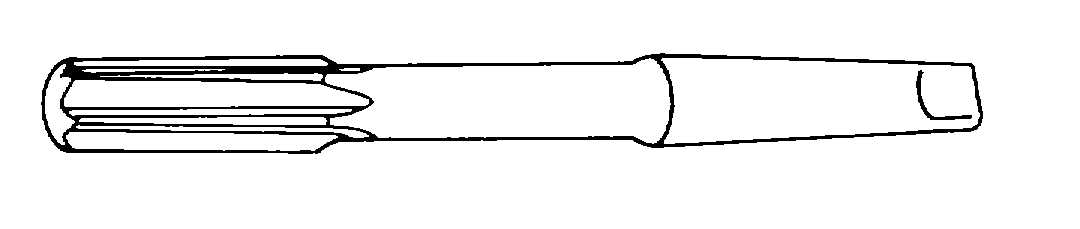
Figure 4-93. Jobber's (Machine) Reamer
Figure 4-94. Brown and Sharpe Tapered Reamer
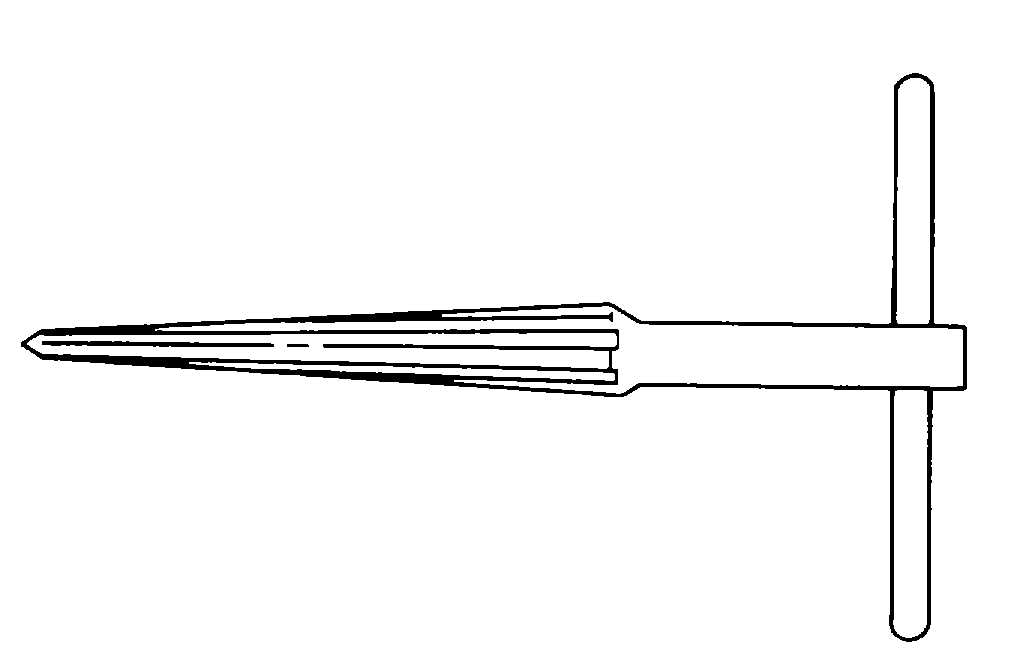
Figure 4-95. Repairman's Hand Reamer
NOTE
*
A reamer should enter a hole at
right angles to the work surfaces
to
permit
all
teeth
to
simultaneously engage. On a
curving surface, the rotating axis
of the reamer is presumed to be
at right angles to a plane tangent
at the point of entrance.
*
Where possible, provisions should
be made for the reamer to pass
through the workpiece. Line
reaming
is
required
for
concentricity and alignment of
holes.
*
Work
aids,
which
incorporate
bushings to guide the reamers,
are needed to produce holes that
are in parallel alignment at exact
distances from location points.
For long holes, it is preferable to
guide the reamers at both ends.
Work aids are locally fabricated.
*
Reamers are operated at slower
speeds and higher feed rates than
drills
of
the
corresponding
diameter. Reamer feed rates will
depend upon the type of metal
and the size or strength of the
reamer.
(1)
Secure the work in a vise so that the hole
to be reamed is perpendicular to the top of the vise
jaws.
(2)
Install the reamer shank into a tap wrench
and tighten the handle to clamp the reamer in place.
CAUTION
Turn the reamer in the cutting direction
(direction of the cutting edges) only. Do not
turn reamer backwards at any time. To do so
will result in rapid wear and dulling of the
cutting edges.
4-36